Spring is around the corner, and it's the perfect time to set up your vegetable garden for planting. This guide is for those who want to build a raised garden bed and grow their own food. Raised garden beds can improve your vegetable gardening and provide a great harvest. In this guide, we will explain how to construct raised garden beds that offer optimal growing conditions for your veggies. Let's get started and create your own vegetable paradise!
Why choose a raised garden bed?
The benefits of Raised Garden Beds;
- Egonomics. Due to being taller off the ground. No need to bend over to cultivate or weed, which is great for you back!
- No Soil leaching. Because they sit on topsoil, no contaminants can leach up and be exposed. Great for people living in areas that were once industrial, as you may be unsure of what is in the soil.
- Versatility. They can be positioned on hard surfaces where you may not otherwise be able to grow.
- Aesthetically pleasing on the eye. in other words...they look good.
Before you embark on building your raised garden beds, it's important to do some research and planning. Consider the following factors:
Location: Choose a spot that receives ample sunlight and is easily accessible for watering and maintenance.
Size and Shape: Determine the size and shape of your raised beds based on the available space and your gardening needs. Aim for widths between 60cm and 1.2m to maximise materials, as sleepers typically come in lengths of 2.4m and 3m, allowing for less wastage and cost efficiencies.
What is the best material to build?
Brick : If built out of materials such as brick, bluestone or Besser blocks they will last a lifetime. However, They can be costly and require a level of skill to construct.
Metal : Metal options, such as ready-made corrugated beds are great as they don’t require the same level of construction skill. They look good and come in a range of colours. The only issue I have with these is that they are made of metal which heats up in the sun, in turn, radiates heat into the soil, drying it out. And it can also burn the roots, of the plants that are near the edge.
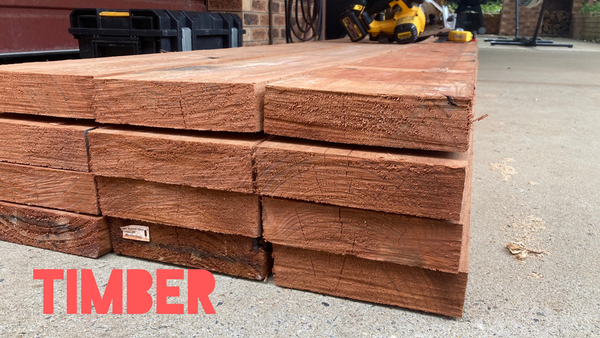
Timber : Timber is my favourite material to use for a raised garden bed. It tend to be relatively easy to work with. The costs of materials can vary depending on the type of timber that you use. Hardwoods such as ironbark or redgum are expensive and also harder to work with. Cypress Pine is reasonably priced and is easier to work with as it is a softer wood. The cheapest timber option is treated pine, If you do use this, look for ACQ treated pine which is arsenic-free and is safe to use on food. Manufacturers claim that the chemicals used are fine for growing edibles.
However, This is not my choice of timber. In an effort to be organic, I try to stay away from any chemical treated wood. However, for the purpose of this demo, I've put together instructions for materials that are readily available no matter what state you reside in. And ACQ Treated Pine is still a valid option for most.
The Construction Process:
Follow these steps to construct your raised garden beds:
- Prepare the Site: Clear the designated area of any grass, weed
- Build the Bed Sides: Cut the timber or assemble the chosen material to create the bed sides. Once you have constructed the two sides, then position the first into place and work from there to get it level. Watch the video below to get an idea of how I construct my beds.
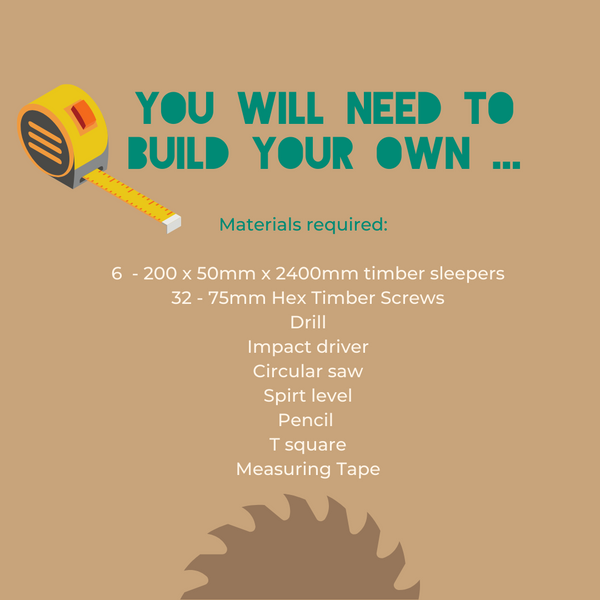
- Cut timber to lengths listed
- (Front & back 4 x 2400mm Sides 4 x 800mm Uprights 4 x 400mm )
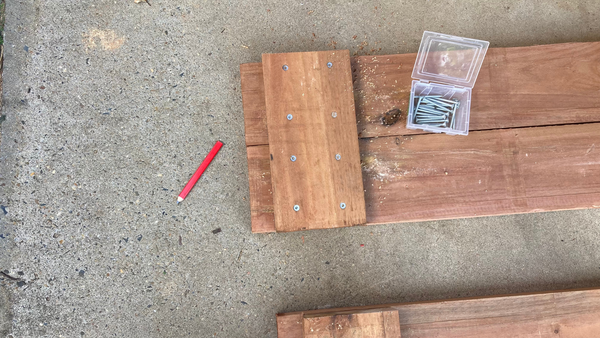
- Construct the two longest sides of the garden bed on the ground. Lay two of the 2400mm sleepers next to each other and fasten together using two 400mm uprights. Position uprights in from the sleeper, so that the shorter sides can sit flush and have something to brace to. Fasten the uprights from the inside, so as not to see the screws.
- Stand up one of the long sides and attach the 800mm sides by screwing into the upright on the 2400mm side. They should sit flush.
- Finish by attaching the remaining 2400mm side.
- Fill the raised beds with a high-quality organic soil mix, filling it to the very top, as over time the soil will compact and lower in the bed. If you wish, you could fill the bed in a no-dig fashion; however, be aware that this will require more soil the following season.
- Leave to Settle and then Plant Into!
How to work out the volume of soil required.
So once you have constructed your Raised Garden Bed you will want to fill it with soil. I recommend using a mixture of Topsoil and Compost form your local garden supply centre.
volume is V = length x width x height so simply multiply all three sides together to get your volume.
In the example of the raised bed above;
2.4 x 0.8 x .04 = 0.768 m2
Therefore the rounded amount required to fill the above raised garden bed is 0.75m2 or ask for 3/4 m2 of Organic Garden Blend.
Planting and Maintenance:
With your raised garden beds ready, it's time to plant your favourite vegetables! Follow these tips for successful planting and maintenance:
- Select suitable vegetable varieties based on your climate and gardening experience. For more information on what to plant, refer to the following planting guide.
- Create rows or plant in a grid pattern to maximise space and airflow.
- Water your plants regularly, providing enough moisture without overwatering.
- Mulch the soil surface to suppress weed growth, conserve moisture, and regulate soil temperature.
- Monitor for pests and diseases, and take necessary measures to protect your plants.
- Harvest your vegetables at the right time for peak flavour and freshness.
Share Your Success:
Once your raised garden beds start flourishing, celebrate your gardening achievements and share your experience with others.
Happy gardening, and may your raised garden beds yield an abundance of healthy and flavourful vegetables!
Stay Hungry!
For more information on how to set up a successful veggie patch, come and join the Veggie Patch School!